| |
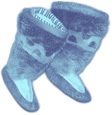
Top: It takes two rows
of stitching to waterproof the seams of sealskin boots. Bottom:
Many Inuk seamstresses still prefer animal sinew for sewing sealskins rathern
than modern sewing thread. 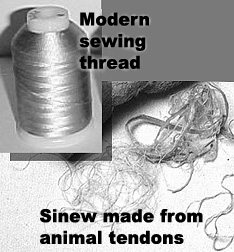
|
|
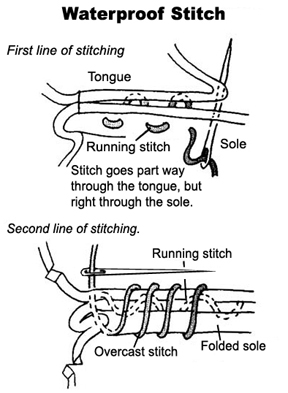
The sinew is key in making waterproof hairless kamiks. When it gets damp, it
expands and fills the sewing holes. Combined with a special stitch, the sinew
thread ensures a fail-safe waterproof join at all seams on the boot. Each
seam is formed where two pieces of skin come together. The stitch used for waterproofing
hairless kamiks is done in two lines. In the first line, the needle goes part
way through the first skin and all the way through the second skin. In the second
line, the needle goes all the way through the first skin and partly through the
second. This means that the needle never goes through both skins at the same needle
hole. And so there is never a direct path for water to follow from the outside
of the boot to the inside. For haired sealskin kamiks, which don't need
to be as waterproof, just the overcast stitch is used. Boot makers have to know
exactly how tight to pull the thread. If the stitches are too loose they will
wiggle loose and seams will open up letting cold air into the boot. If stitches
are too tight they will tear the skin. Haired sealskin is sewn together on the
flesh side, making sure that no hair pokes through along the seam while stitching. Kamiks
are not just functional; they are also works of art. Seamstresses have always
decorated all but the most basic boots. Traditionally, boot legs were decorated
with patterns based on simple geometric shapes such as squares, circles, and diamonds.
Traditional kamik leg designs were vertical for male and horizontal for female.
Today's complex leg designs do not follow this tradition. Now that you know
about all the work that goes into making a pair of kamiks, you understand why
we should always take care of clothes that are hand-made especially for us. 
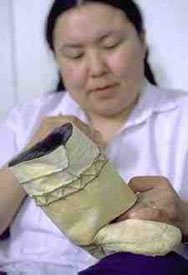
Image
source: KNOM Photo Gallery
|